

20 Jul Vacation Albums Made Easy
Ahhhh vacation. Bonding, relaxation, adventure and 1,413 images to prove it. Ok, maybe only 867 if you aren’t obsessed with catching every. single. moment. {guilty as charged}. And don’t forget the 212 pictures on your mobile device. For many people, capturing these images is fun but deciding what to do with them … well, it can seem daunting. Here are 5 easy steps and lots of great resources for making vacation albums your whole family will treasure.
STEP 1: SELECT VENDOR AND STYLE
Don’t start picking your images yet. Rookie mistake! Before you work with any images at all, identify which album vendors meet your quality, style and pricing goals. I’ve made many personal albums over the years and Picaboo is easily my favorite. I adore the Seamless Lay-Flat Books and Classic Photo Books (which also come with a lay-flat option).
Both meet my {very} high quality standards and both come in a variety of styles. Everything from the modern, minimalist look that I love to the med layouts with fun doodles. Picaboo’s Classic Photo Books start at $19.99 and the Seamless Lay-Flat Books start at $64.99. Coupons are almost always offered so keep your eyes open. Other popular vendors include Shutterfly, MyPublisher and another one of my favorites, Artifact Uprising. More on Artifact Uprising in a minute, but the point is explore your options before you design.
STEP 2: SET PAGE COUNT
Determine the approximate page count of your finished album, then double that for the amount of images you need. For example, if you want a 20-page book then only select your 40 best images. If you want a 50-page book, start with your 100 best. I rarely use that many but it’s a great starting point that will allow for a nice variety of spreads throughout your book.


Page count is often driven by your budget and/or the scope of your vacation . . . though my latest book is 47 pages and 90% of it was shot in one hour at one location. Just sayin’, it’s easy to get carried away, which is why Step 3 is where you will invest the most time.
STEP 3: CULL IMAGES
It’s time to narrow down your images. I know you love them all, but honestly some are blurry, some are duplicates and some simply take your breath away. It’s important to see the differences, use the trashcan and star your favorites. If you are too attached to let go of any, walk away for a few days. Sometimes a fresh perspective is all you need. Your goal here is to identify the best 25/50/100 images for use in your album. My final selections always include a combination of images from both my professional camera and my iPhone. Here’s a spread using iPhone pictures on the left and my Nikon d610 on the right. Don’t be afraid to mix it up.

STEP 4: UPLOAD AND ARRANGE
If you prepare everything as outlined in Steps 1-3, then Step 4 will be a walk down easy street. In fact, Steps 4 and 5 should take you an hour or less from upload to order. {Those with perfectionist tendencies may take a bit longer. Not me. Never. Type A what?} Simply upload your selected images to your layout of choice and arrange the pictures in the order you want to see them. I like to tell our vacation story, so I typically default to chronological order. If your images didn’t automatically upload in order, then you will need to drag them to the appropriate place. This is another good reason to work with smaller numbers of images.
STEP 5: UTILIZE AUTOFILL
Talk about easy, now simply click “autofill” and let it do its job. Within minutes your book is ready to preview. Picaboo’s autofill feature is especially good at detecting appropriate layouts and using a variety of them. I’m always amazed at how the images fit so perfectly. Autofill saves me time and gives me creative layout ideas but it’s not 100% perfect. I make final adjustments before ordering because it’s easy to swap pictures, change layouts and make a whole host of additional customizations.
BONUS BOOKS
With so many of us shooting in square these days, it’s nice to have Instagram friendly books too. You could easily document your whole vacation on your mobile phone then upload your selected pictures to Artifact Uprising. The company’s best-selling Softcover Books for Instagram start at $16.99. If you follow me on Instagram you know that I use these books to showcase my iPhone 365 project. Each month I create a 5×5 book of my family’s daily happenings. I adore the product and the ease of Artifact Uprising’s Mobile App. It takes me about 20 minutes to design and order straight from my iPhone.

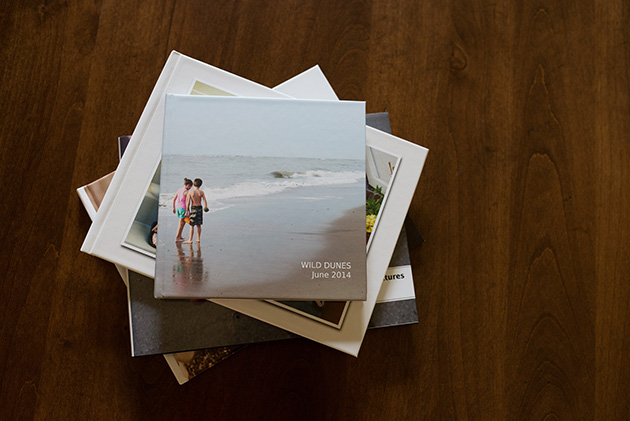
The coffee table in my family room holds all the albums I’ve ever created. It’s a mix of old, new, tried and true but the important thing is that we see them … I mean, really SEE them. Not a single day goes by without my kids picking up an album and reliving those moments. I love that. I want that for your family too.


