
13 Apr 5 Tips for Taking Meaningful Photos on Family Vacation, with Jaye McLaughlin
I love traveling with my family. Putting aside the fun, relaxation and adventure family travel involves, I believe that there’s no greater gift we can give our kids than allowing them to experience a culture different from their own. The world can seem very small to them – to all of us, really – if we don’t occasionally step outside what we know and experience something completely different.
With this in mind, our family travel goals are always to allow plenty of time to simply wander and explore the places we visit. Daily itineraries dense with ‘must see’ tourist attractions and forced family fun are a recipe for stress and can really suck the joy out of the day.
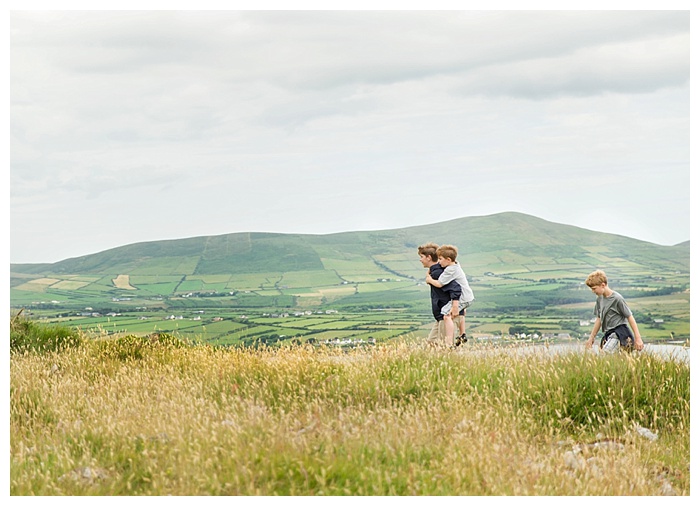
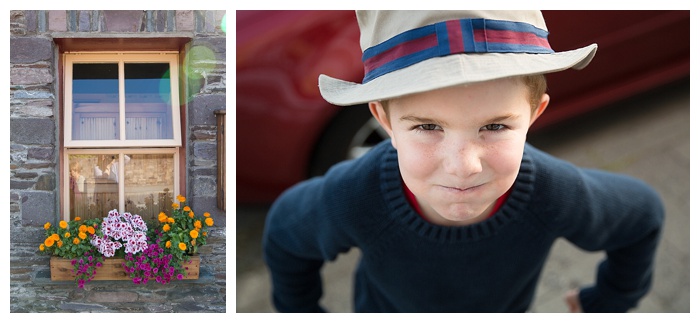
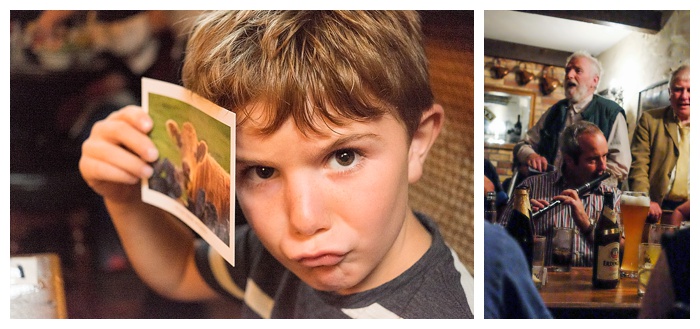
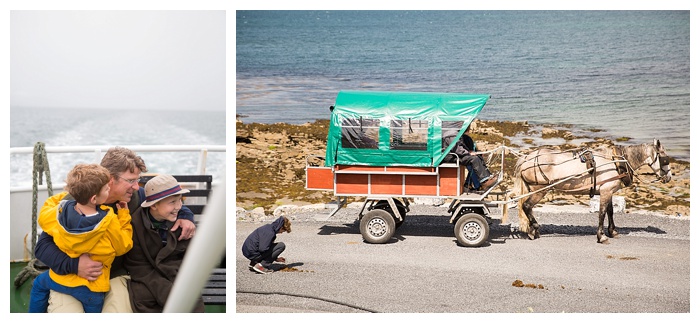
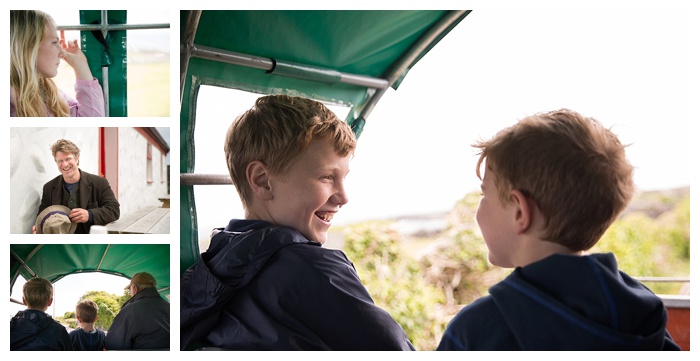
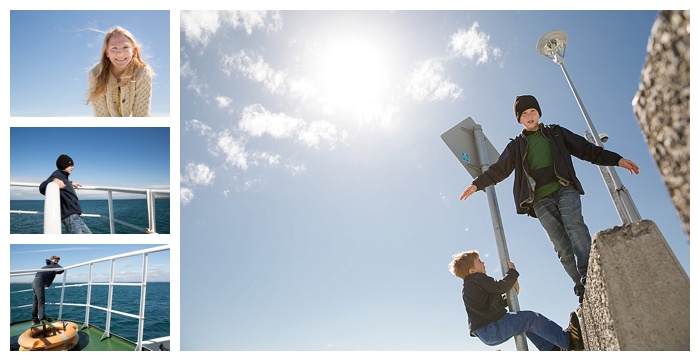
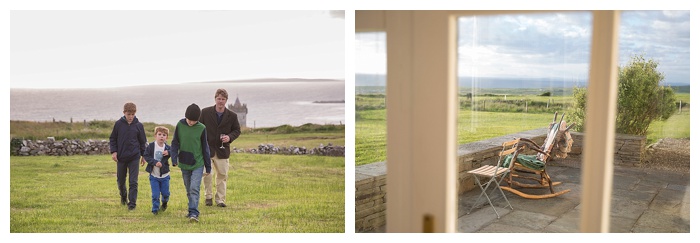
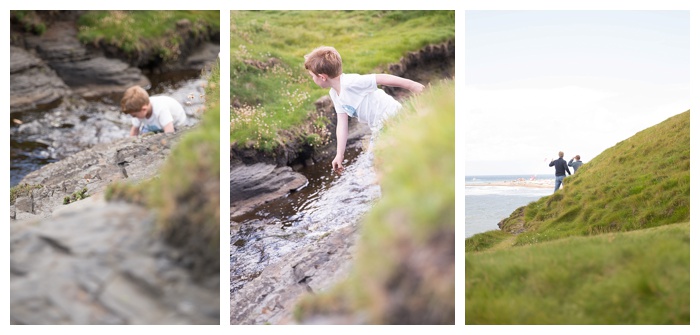
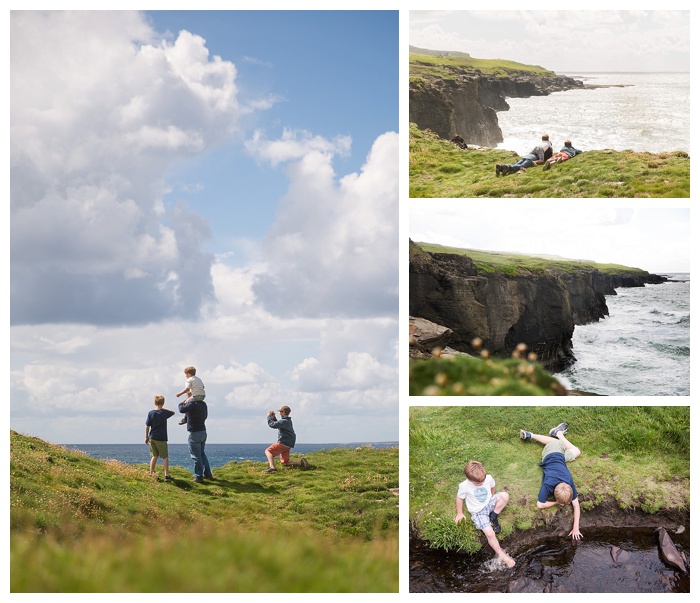
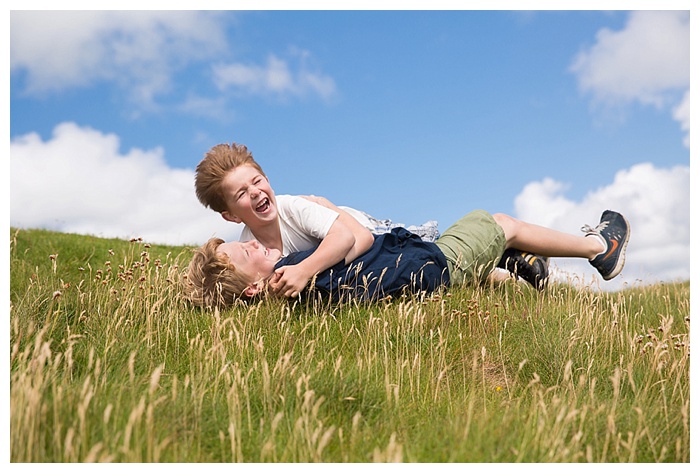
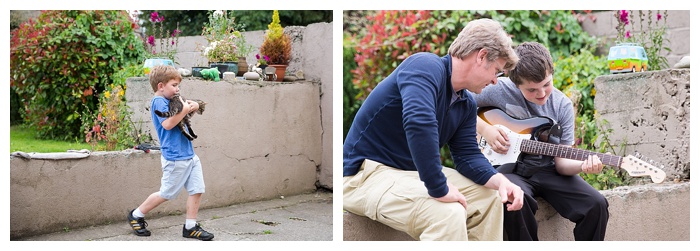
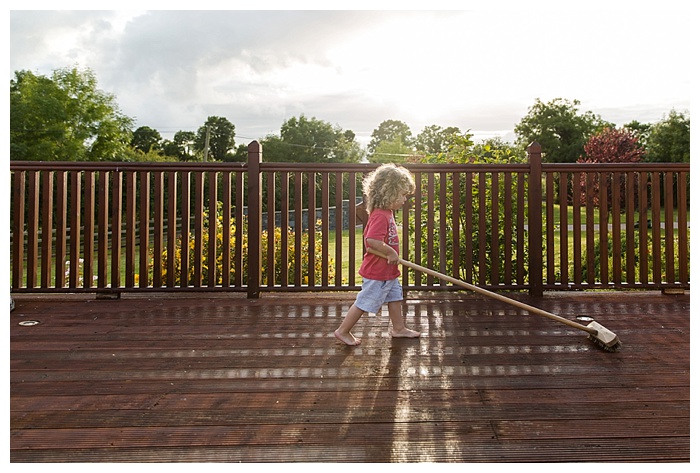
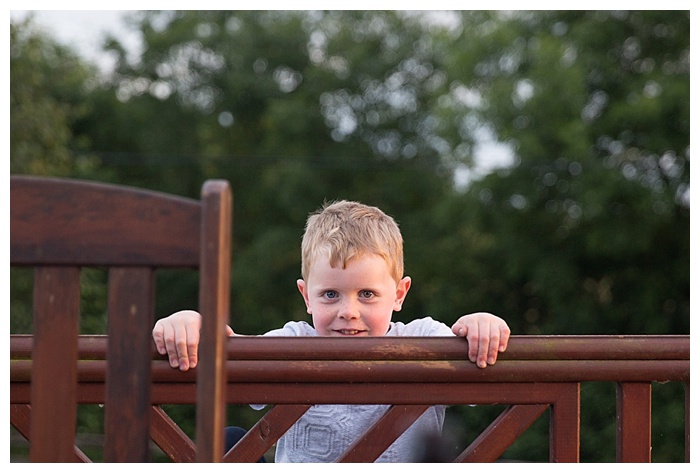
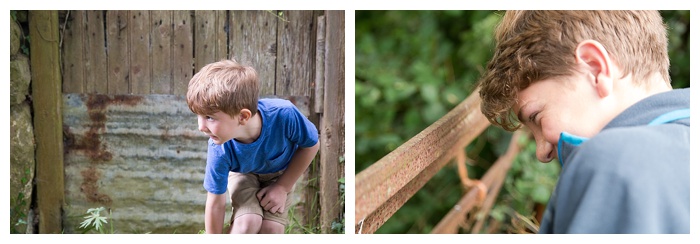
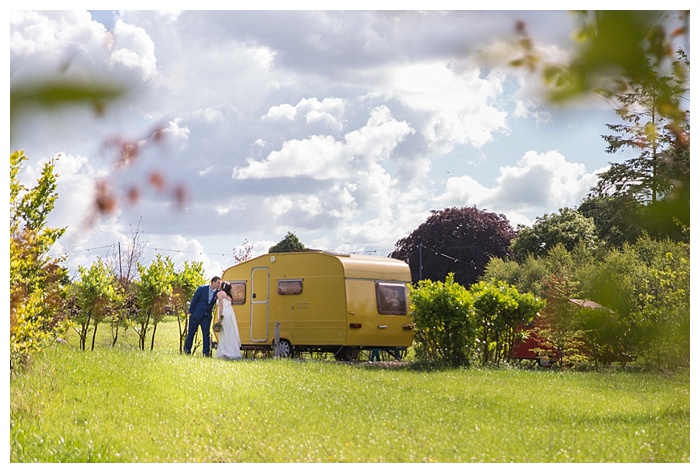
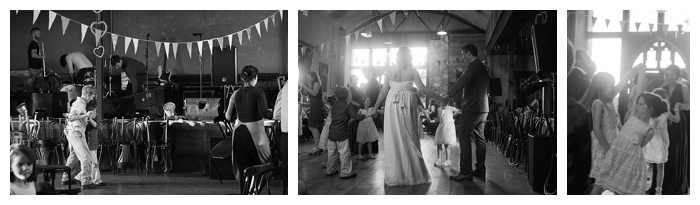
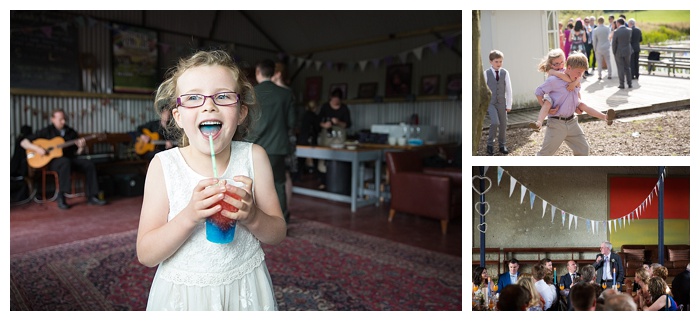
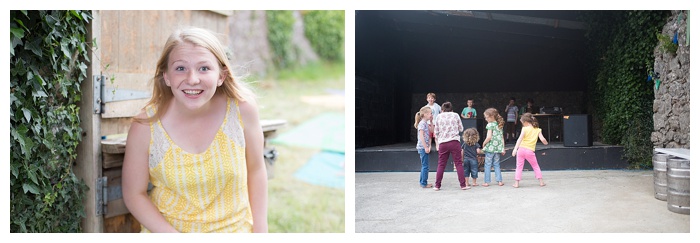
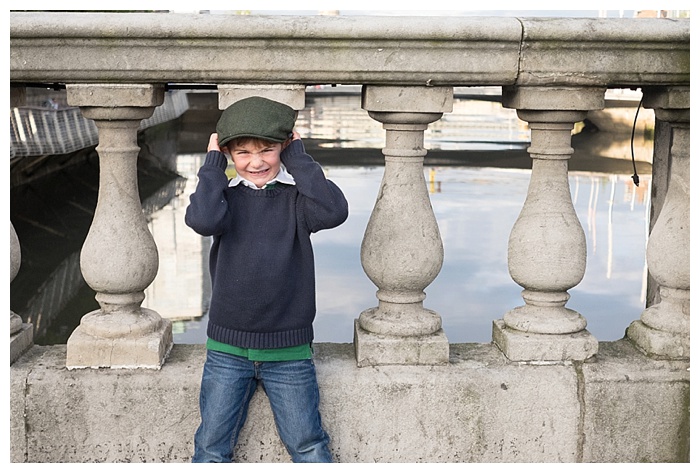
This desire to prioritize experiences over attractions also dictates the way I take photos during vacation. It’s not so different from what motivates me to photograph the moments of my everyday life – it’s not something I think about, but rather is driven by how I experience the trip myself. When I notice the wonder in my little guy’s eyes as he stares up at a magnificent cathedral ceiling or watch my husband lean down to teach them all some historical tidbit about what they’re looking at, I’m compelled to capture it. When we all sit back to take in a traditional music saisun or when I notice an arm draped over a shoulder during an afternoon stroll through a colorful neighborhood, I’m so filled with appreciation for the beauty in that moment, I have to bottle it up – to freeze it and keep it for later. And my camera is always at the ready to do just that.
When I get home, I always make a book of the photos of our trip right away, while the memories of those moments are fresh. We revisit those books again and again through the years. They’re great for sharing with friends and family, and the photos immortalize those moments and serve as memory triggers for rehashing all the funny stories and mishaps that we have to tell from the trip.
It gives me chills to think about my kids going through those books years from now – decades from now, really — and remembering the fun we had together. Telling these same stories to their own kids and grandkids. It makes the value of the trip last well beyond our return home.
You’ve heard my “why” – now, the “how”. Here are some tips for taking meaningful photos on family vacations.
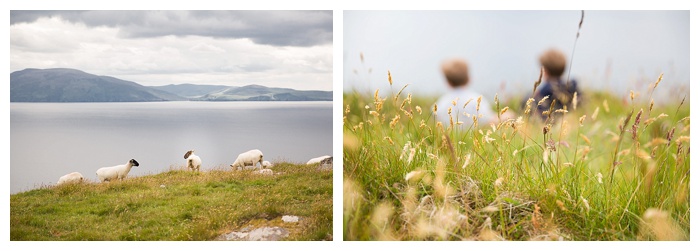
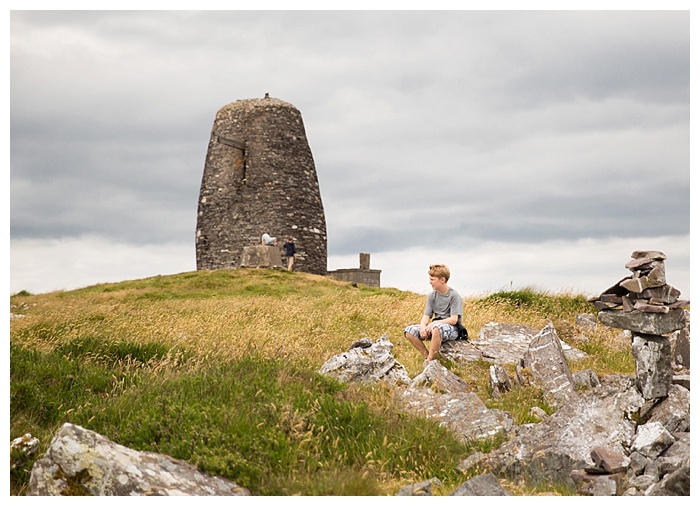
1. Think ahead of time about what’s important to you about the trip and keep your focus there. For me, this is much more about the fun we have and our relationships with each other than about any specific sights we see. You’ll rarely see me photographing landscapes or lining the kids up in front of a famous landmark. The souvenir shops are filled with pretty pictures of all these things, and picture postcards are a fun and inexpensive token of our trip that the kids can buy themselves.
2. Prioritize what you want to capture and don’t over-do it. This is one I’m constantly working on. As always, balance is key. On the one hand, my family has come to terms with the fact holding the camera up to my face and taking photos is my personal way of fully experiencing the trip. On the other hand, I know it’s important that they are allowed to remember what my face looks like without the big black box in front of it. So I try not to always have it out. This sometimes means letting myself off the hook when it comes to my normal drive to achieve technical perfection in my images. Again, my goal is not to see these photos hanging in art galleries some day, but to bookmark my favorite memories from a special time in my family’s life. For this, perfection isn’t necessary.
3. Plan your gear. For my back’s sake, I try to pack light for family trips. One camera body, one versatile zoom and one fairly wide angle prime lens for low light are generally all I bring on most trips. My older primes are smaller and lighter than the L-series ones I use for sessions now, so I bring one of those along and leave the heavy pro glass at home. If the resulting photos aren’t as tack sharp as what I’m used to, I remind myself that I won’t be worrying about counting eyelashes when I browse through these photos in twenty years, and I hope that my back will continue to thank me. I also always bring a lighter/smaller alternative to my DSLR to use during parts of the trip. Last year, I invested in a Fuji mirrorless camera for our Ireland trip, but on past trips a small Canon point and shoot and even my iPhone have given me some of my favorite memory place holders.
4. Print the photos as soon as you get home. As I mentioned, I always make nice album of photos from each family trip – the sooner the better, before the memories start to dissipate. Designing books can be a huge time commitment, and knowing this can make it really hard to start, but I’ve got strategies to prevent procrastination from getting the best of me. For example, I used to include captions and text descriptions in every photo book. I realized, though, that coming up with the right words was a huge barrier to me getting the book done quickly, so I finally started printing books without any text at all. After the books have arrived, we all sit down together and decide what little captions and text descriptions to add to the book, and I add them in my own handwriting with a sharpie. The book gets done faster, and I feel like the handwritten words add a personal touch. If designing the layouts is what holds you up, most book companies now have software with autofill options – you just load up the photos in chronological order and with a few clicks of the mouse, you’re done.

5. Include extra digital copies of the book photos inside the book cover. I recently came up with a new practice that I think is pretty genius. I noticed that my daughter was taking iPhone photos of the pages of my books to post on Instagram. While I’m sure these iPhone snaps are fine for her purposes, it occurred to me that I wanted to make the full res copies of each photo more easily accessible for future enjoyment. I keep copies of ALL my photos in multiple places on external hard drives, on CDs in storage, and online. There are a LOT of pictures, though, and as intuitive as my filing system seems to me, I’m sure it would seem completely overwhelming to anyone else. Now, when I finish a book, I burn a CD of the images in the book and slide it into a CD sleeve I’ve taped to the inside of the back cover. Keeping an extra copy right there puts the photos at the fingertips of my kids, grandkids and beyond. How’s that for getting value out of a trip?

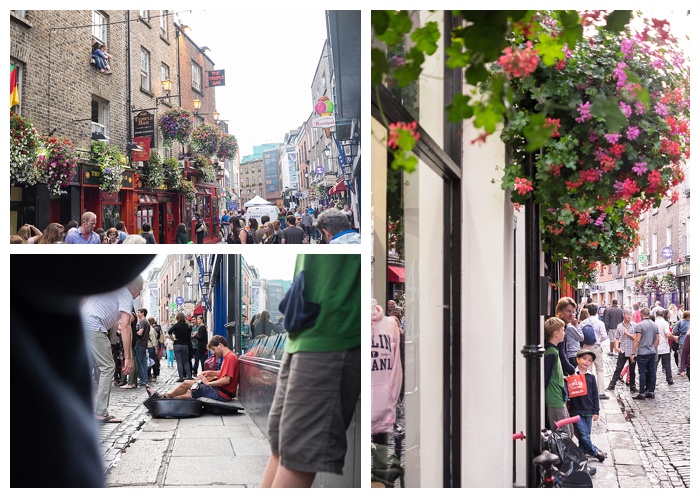
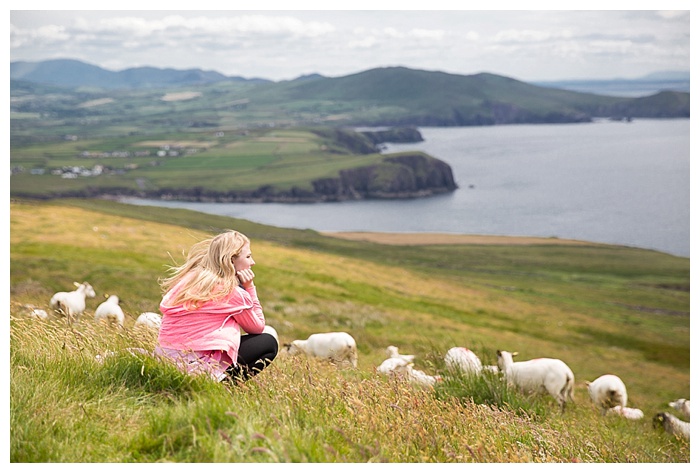
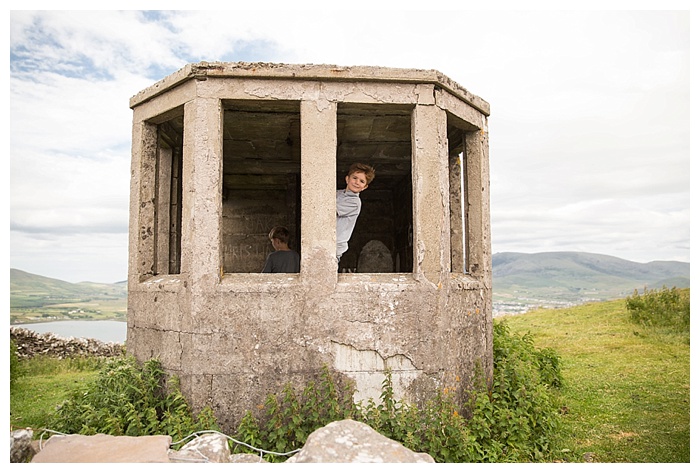
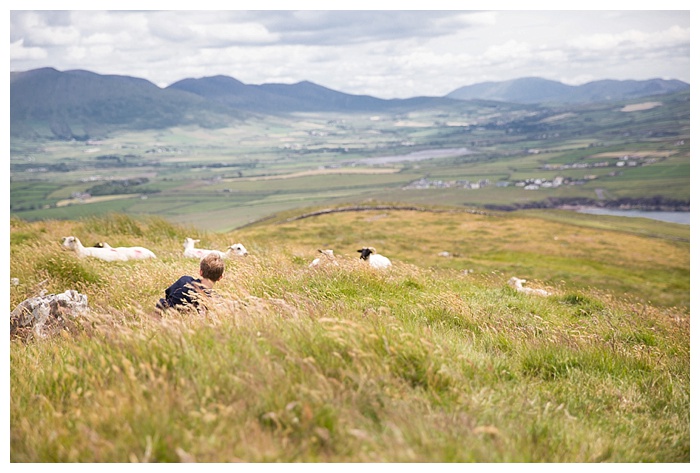
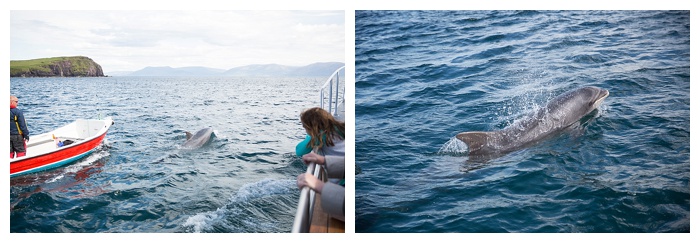
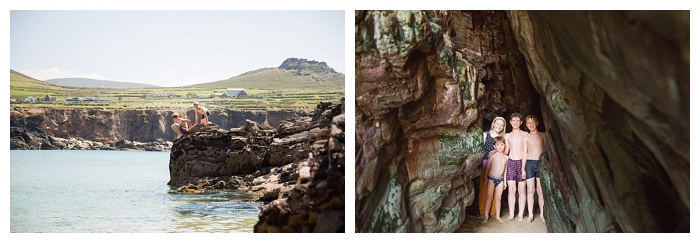
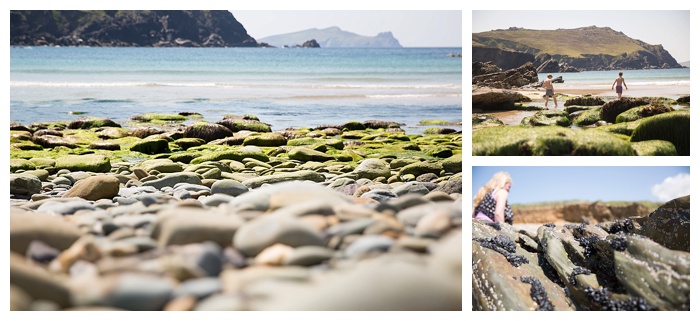
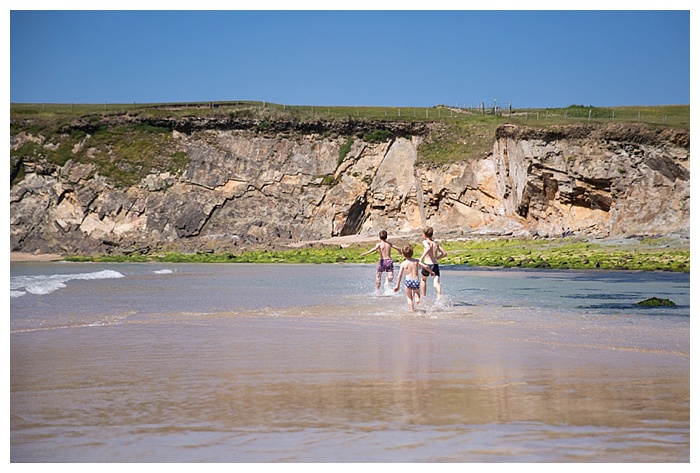
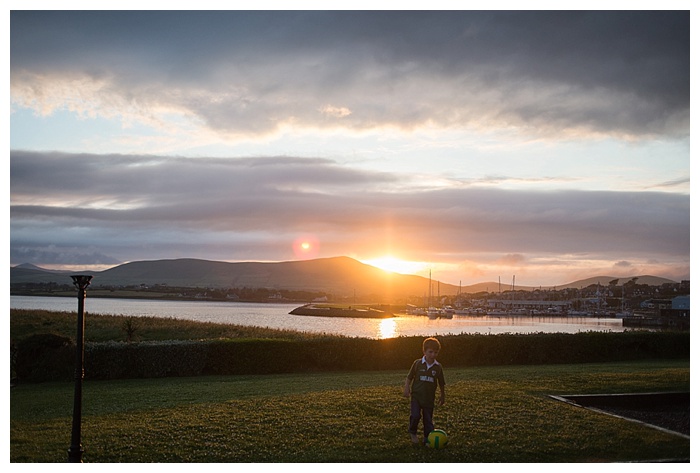
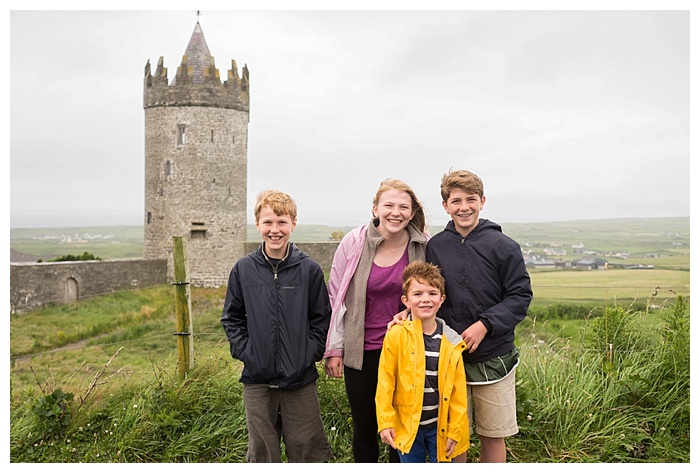
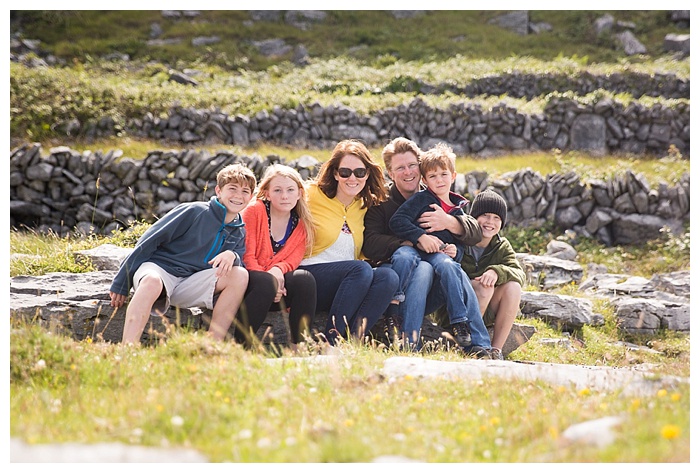
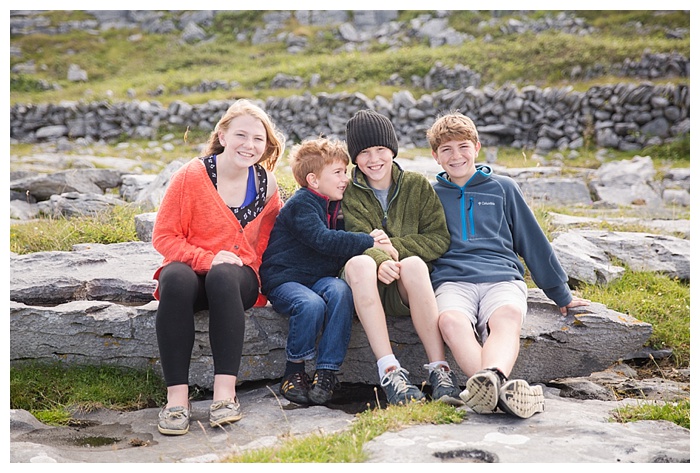
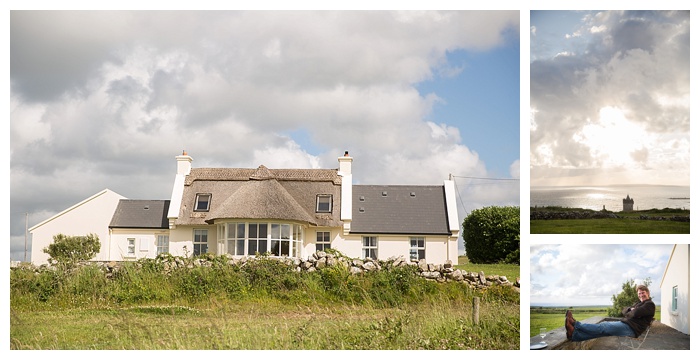
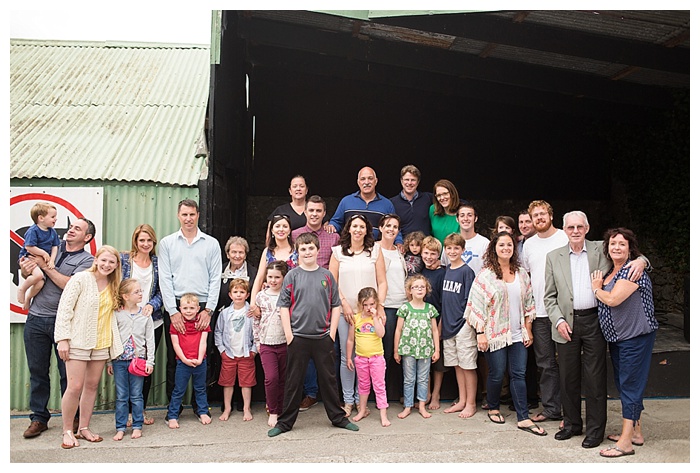
Last summer, we took an amazing two week trip to Ireland with our four kids. Dingle, Doolin, Ballymahon and Dublin, with lots of little drives and towns and excursions (and family BBQs and visits to ancestral homes, and even an amazing wedding!) in between. The book from this trip is one of my favorites yet.
Thank you, Jaye, for this positively stunning post – and for the wonderfully thoughtful tips.
To see more through Jaye’s lens, visit her website, Like her Facebook page, and follow her on Instagram and Pinterest.