
10 Dec Happy Fridays: Fun Holiday Ornaments!
One of my favorite things about this time of year is decorating! Of course there are certainly other holidays to decorate for, but Christmas is the big one! The whole house gets a gorgeous new holiday makeover just for the month of December, and possibly January if you’re like me and never want to take it back down 🙂 Christmas decor is also great because a good many of the adornments you can make yourself. And who better to consult for DIY projects then the one and only Martha Stewart! I have assembled some photos of my favorite ornament crafts from her site, along with the instructions on how to make a few. Enjoy!


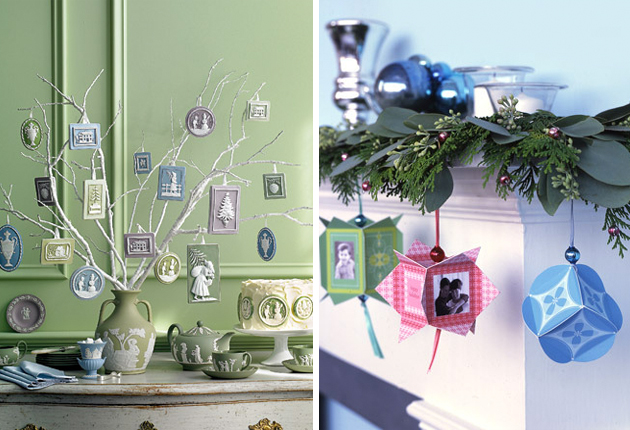
These last two are my absolute favorites! Here are the instructions:
Project 1 (pictured left) -Tools and Materials: pencil, pins, wire, scissors, tape, honey comb paper, tweezers, glue, glass (or weigh of some kind)
Project 2 (pictured right) – Tools and Materials: balloon, ball of cotton string, craft glue, clothespin, dowel, glitter, pin, tweezers, metallic thread, spray mount, evergreen branch
2. Thin the glue slightly with water and brush some on the bottom of the balloon to tack down the string. Begin wrapping the string vertically around the balloon. When 3/4 of the balloon is covered vertically, begin wrapping the string horizontally. To change direction, wrap the string around the tied-off end of the balloon. Continue until 3/4 of the balloon is wrapped horizontally.
3. Cut the string and secure it with a dab of glue. Brush the watered-down craft glue all over the string-covered balloon. Pinch the top of the balloon with a clothespin and thread the clothespin onto a dowel that you’ve suspended between two points. Allow to dry for several hours.
4. Once dry, pop the balloon with a pin and remove it, using tweezers, if necessary. Add a loop of metallic thread and brush the balloon with glue again. Working over a bowl, spoon on glitter and set aside to dry.
5. Spray the branch with spray mount and spoon on glitter. Allow to dry. Affix the ornament to the branch.
1 Comment