
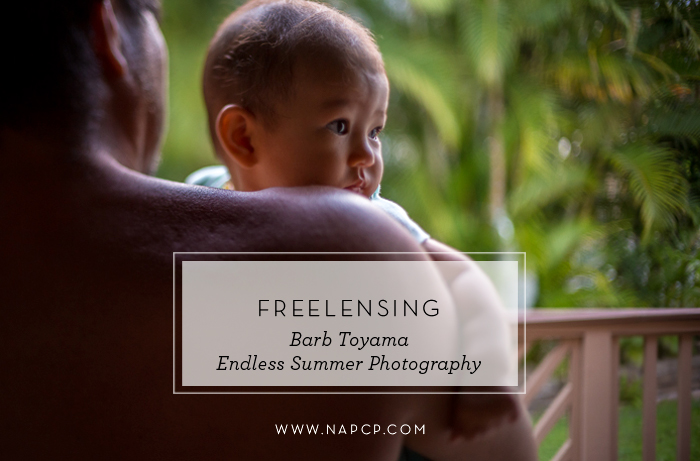
04 May Freelensing
Freelensing is, quite literally, freeing the lens from the camera body. You may wonder – why on earth would anyone want to do that? Couldn’t you drop and break the lens, or allow dust inside your camera body? Possibly, yes. But aside from the cheap thrill of living photographing on the edge, there are many creative reasons for freelensing.

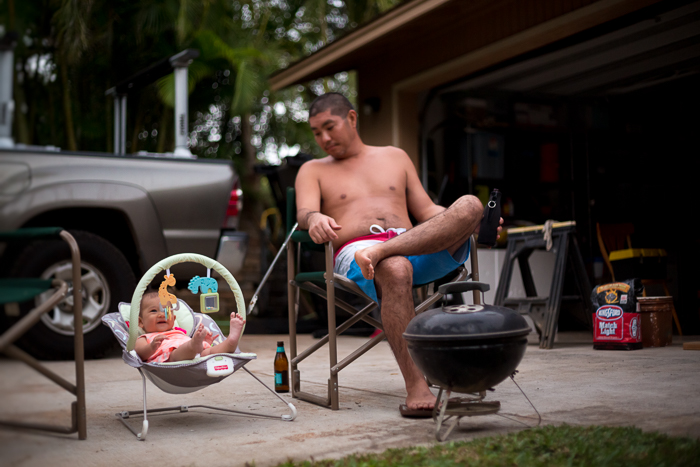

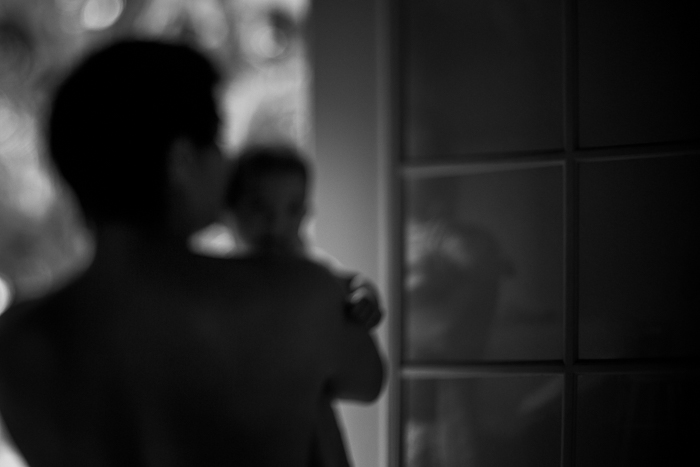
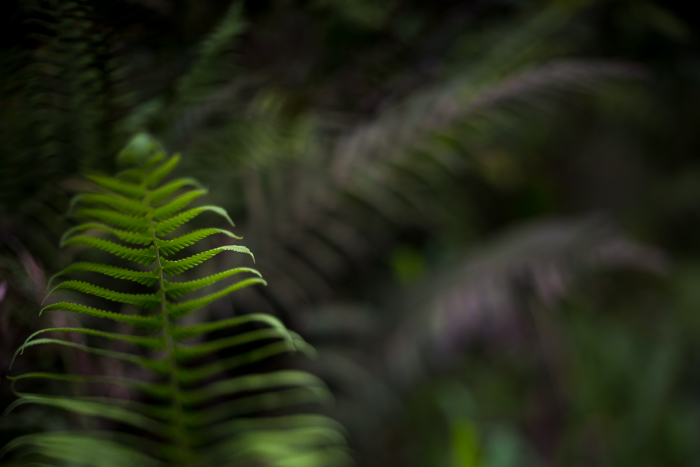
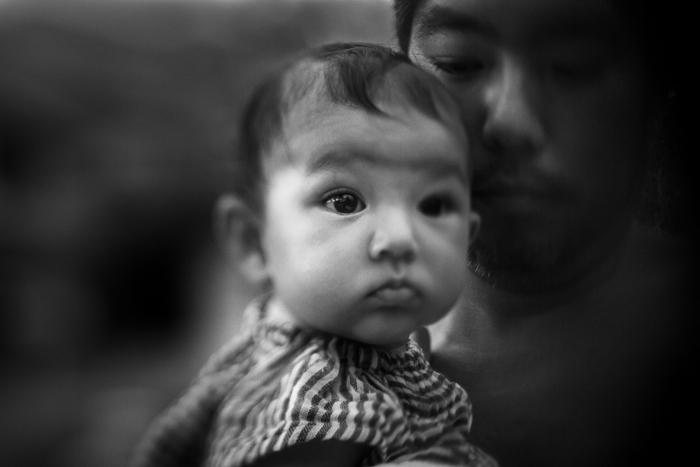
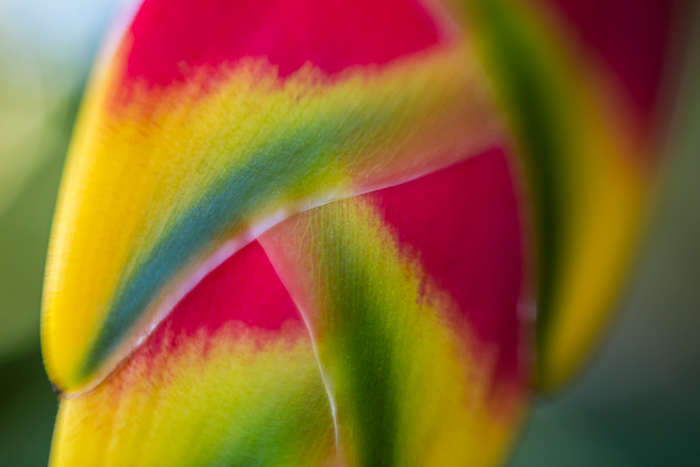
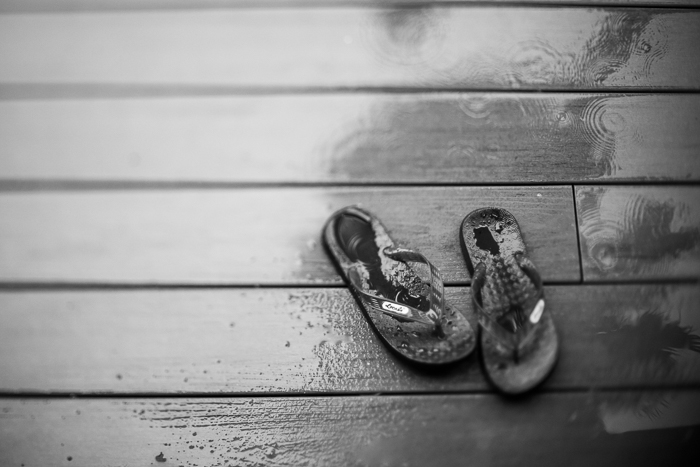
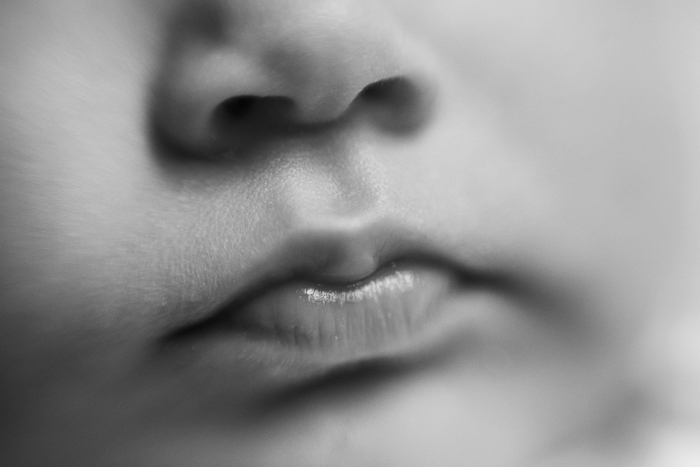
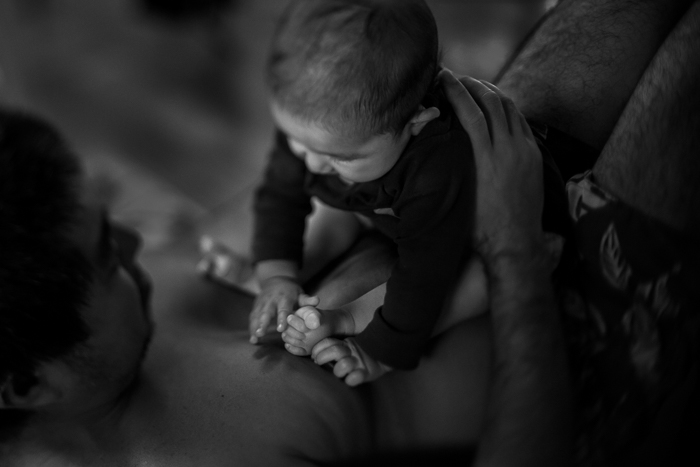
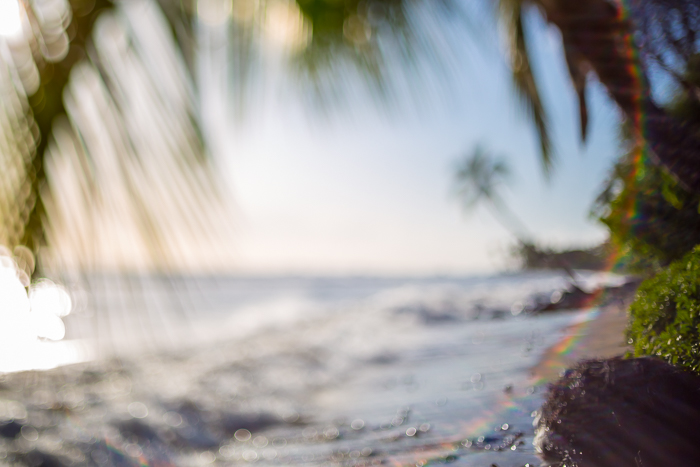
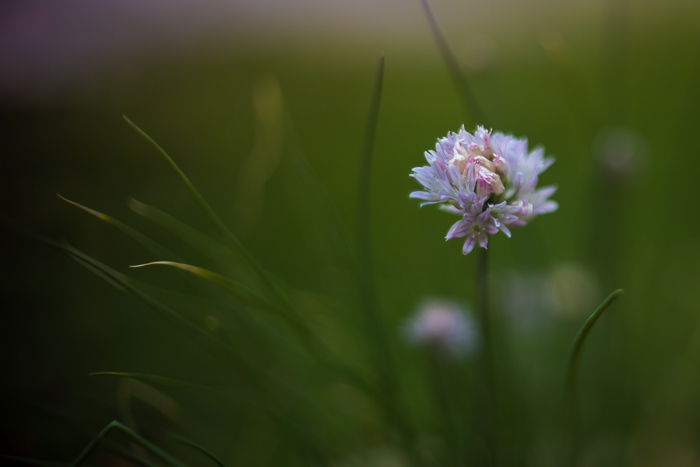
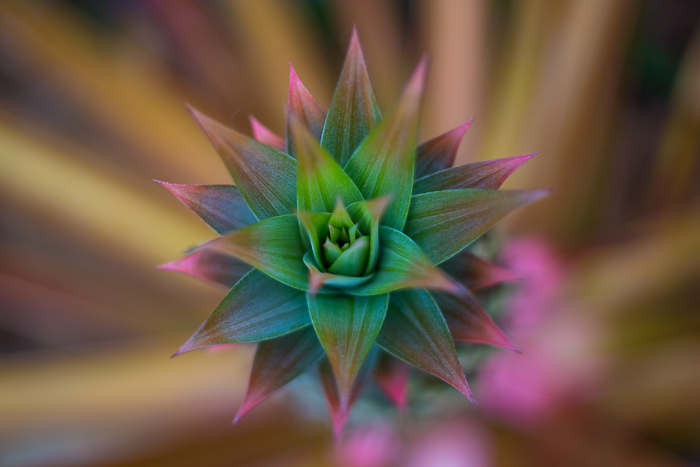
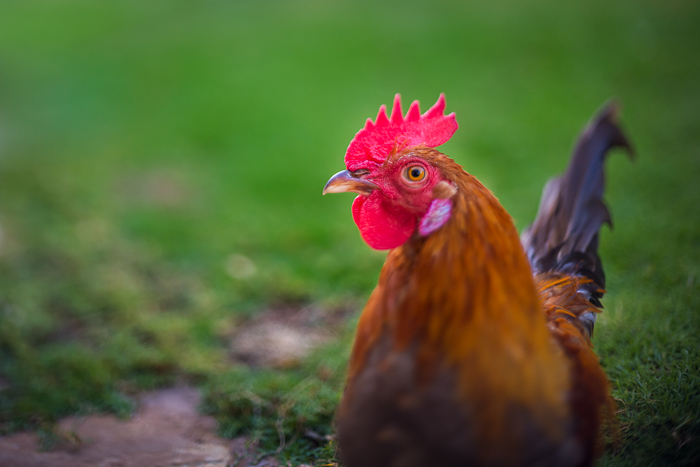
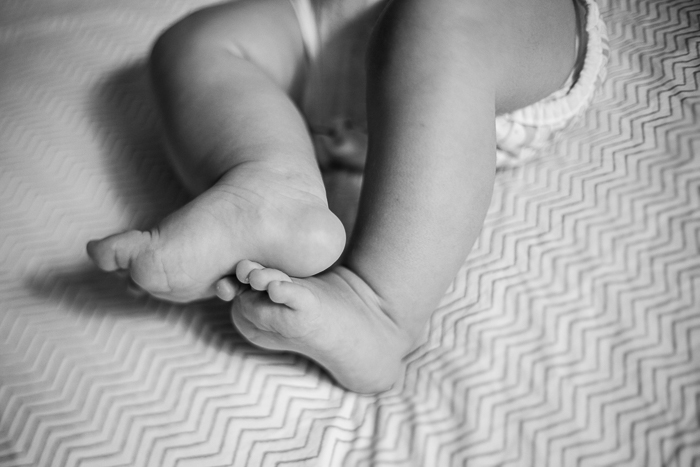
The effect of freelensing is similar to using a tilt-shift lens or a lensbaby, creating a “sweet spot” of sharp focus, while shifting everything else into creamy softness.
Creatively, I get bored easily, so for me, freelensing is a way of feeling inspired and breathing new life into my photography. Just like you might experience with a new lens, tried subjects and scenes became new again as I started exploring this technique. I found a way to give my images more depth and create photos that convey deeper feeling, two things I always strive for in my photography. It has made me become a better observer, taught me to slow down, shoot with intention, and helps me notice more of the small things and magic surrounding me in everyday life.

Ready to give it a try? If you are new to freelensing, the easiest way to get started is with a 50mm lens. You don’t have to risk your expensive, high quality glass. A cheap, used, or even partly broken lens will do just fine. Bonus – a plastic lens is lighter and smaller and therefore easier to hold.
Turn your camera to manual, figure out your exposure, then turn the camera off. Make sure your lens is set to manual focus and infinity, detach the lens, and turn your camera back on. Hold the lens right in the mount, and tilt or move it forward slightly as you look through the viewfinder. Less is more – think millimeters, not inches. You’ll see the focal plane shift across your image as you tilt and move the lens.


Some tips for beginners:
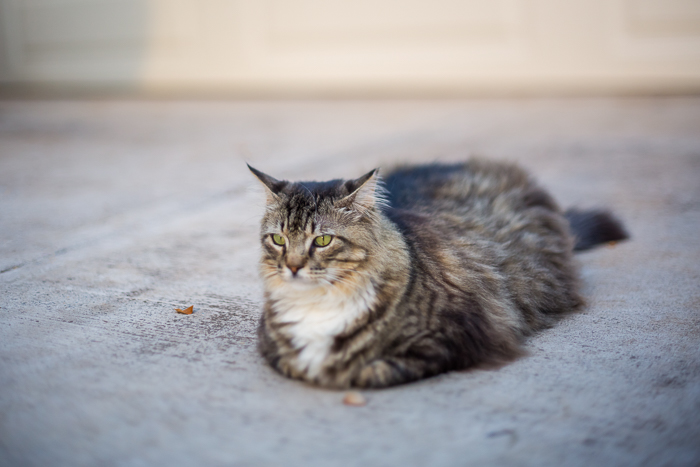
– I recommend starting with a stationary subject or still life for the first few tries
– Take lots of photos – what you see is not always what you get (which isn’t necessarily a bad thing)
– Picking a multidimensional subject or scene will up your chances of achieving a sweet spot

The fun thing about freelensing are the endless possibilities this technique presents. Once you get the hang of the basics, take it a step further:
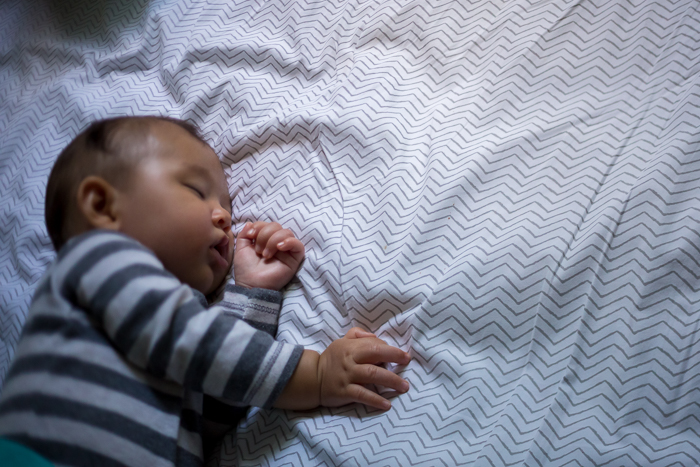
– Try moving subjects – my wiggly baby is a really fun challenge to freelens
– Turn your lens around and give macro freelensing a try (back of the lens facing your subject)
– Give other lenses a go – you don’t have to be limited to a 50mm. I’ve seen gorgeous shots with an 85mm, and am currently experimenting with my zoom lenses and wide angle prime.
– Experiment with positioning yourself in different ways relative to the light source to allow for light leaks
– Hold your lens further away from the camera body while moving closer to your subject and see what happens
– Create some intentionally out of focus images
– Freelensed video, anyone?
In conclusion, the main thing is to have fun. Embrace the unpredictability of it – let go of missed shots and celebrate happy accidents. There is no right or wrong. Follow your intuition and let your heart lead your eye. I can’t wait to see what you create!
Thank you, Barb, for the fantastic introduction to freelensing! We can’t wait to put your tips into action.
For more of Barb’s photography, be sure to bookmark her web page, Like Endless Summer Photography on Facebook, and follow her on Instagram.